Building large features: my process for branches, requests and reviews
During my first couple of years as a developer, I didn’t have much of a process for large features.
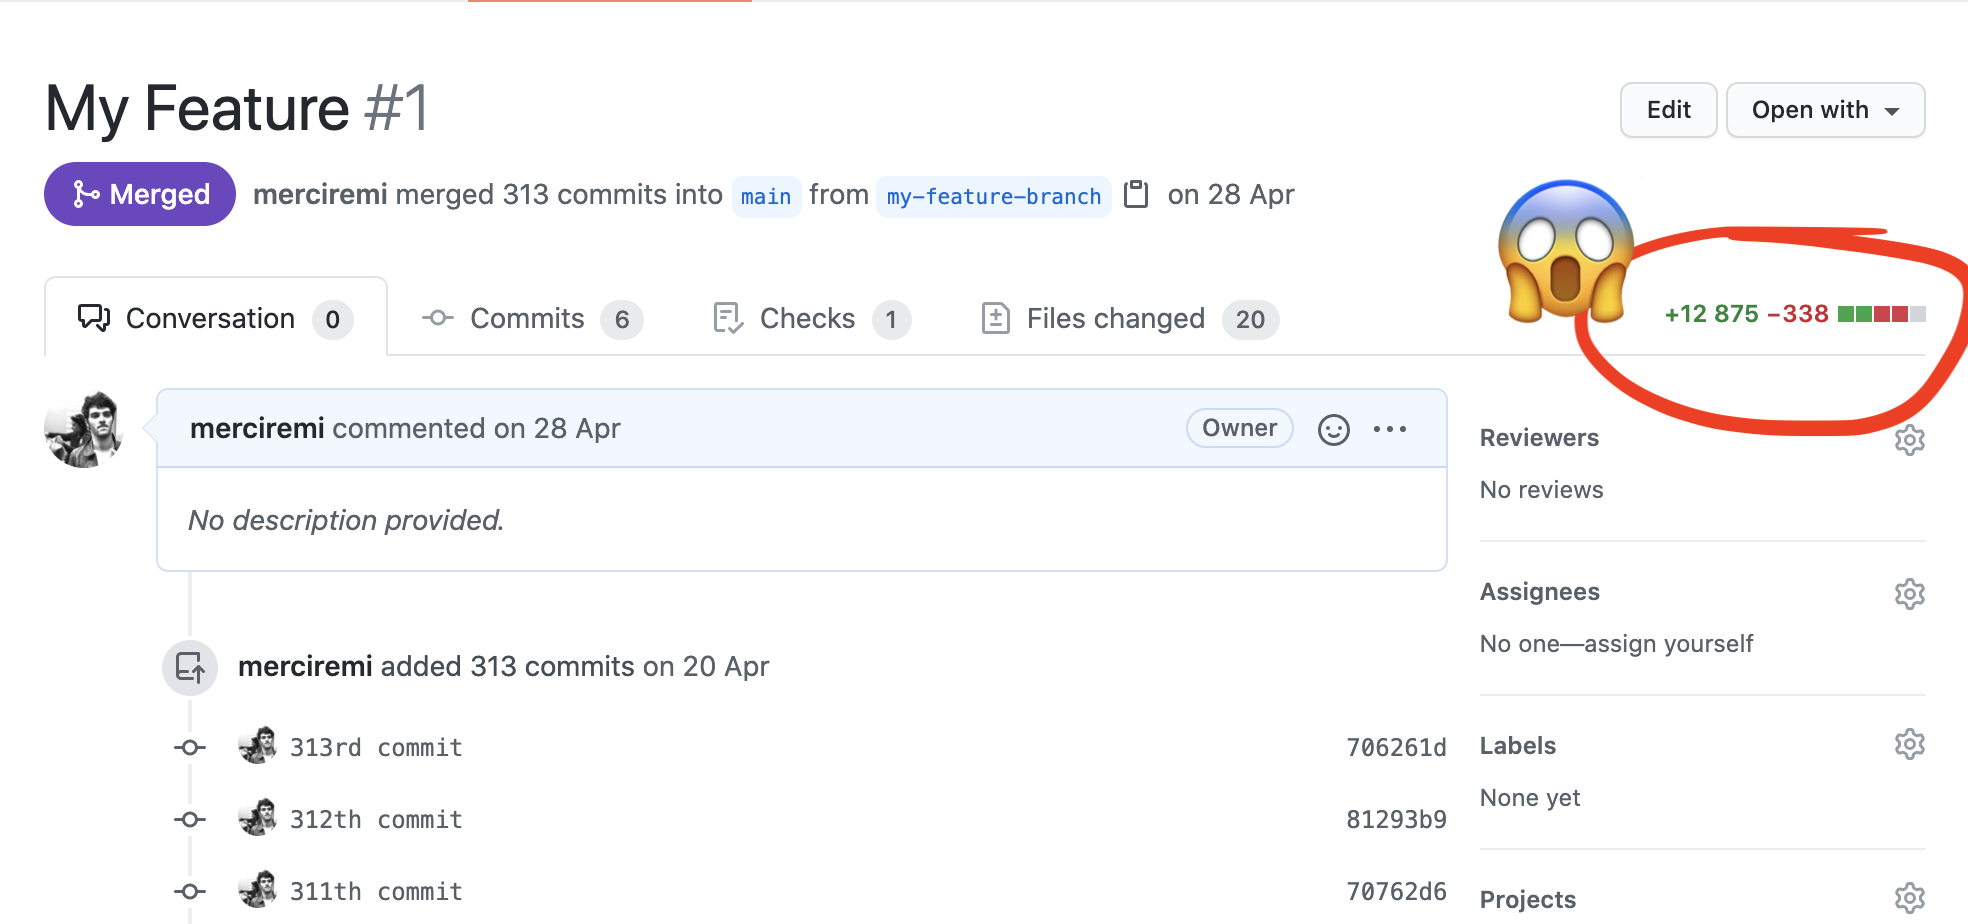
I would start a feature branch from the main branch, work on my feature for weeks, and open up a pull request. I would subject my coworkers to grueling thousand-lines-of-code reviews without thinking about it twice.

At the time, that seemed normal. Everyone was doing it.
But no more!
Now that I regularly work on large features, I’ve found a process that suits my needs (and my teammates’). It helps me keep in touch with the main branch. Code reviews are easier for my coworkers. And it’s easier for me to maintain over time.
This process was born from three constraints:
- Break down large features into smaller chunks to make reviews easier.
- Don’t commit code to production that is not used right away.
- Make do with reviews (and subsequent modifications) that can happen over a few days.
Step 01: The way I specify == the way I code
My brain has a mind of its own.
If I write my feature specifications in one card 1, I’ll end up writing this feature in one go, then submit a massive pull request.

If I centralize all my specifications in one parent card, then isolate each conceptual chunk into its own child card, I’ll create a dedicated branch and a (well-sized) pull request for each child card.

One side benefit of splitting your feature into conceptual chunks is that you need to take some extra time to think about what needs to be done. You can organize your work and know that first, you need to code some endpoints, then move on to the views, then wrap up with some data migration.
The way you split your specifications is the way you’ll work through your feature. There’s no need for your favorite to-do list tool anymore. Your specifications are your to-do list.
Ok, time to code that feature!
Step 02: Create the parent branch
As a title, I pick the ID of the parent card and append a descriptive name to it.
Make the naming suits your need. I use a number and a name because I work with an issue tracking software that heavily leans on card ids. The (most) important bit is the descriptive naming.
  ➜  my-project git:(main) git pull origin main
  ➜  my-project git:(main) git checkout -b 313-my-feature-parent-branch

  Switched to a new branch '313-my-feature-parent-branch'
Now, 313-my-feature-parent-branch will serve as a basis for all my child branches. The parent branch is empty for now. It’s only there as a hub for future child branches.
                 ---    313-my-feature-parent-branch (empty for now)
               /
  X --- Y --- Z         main branch
Let’s push my parent branch onto my remote repository manager 2.
Step 03: Open a pull request for the parent branch
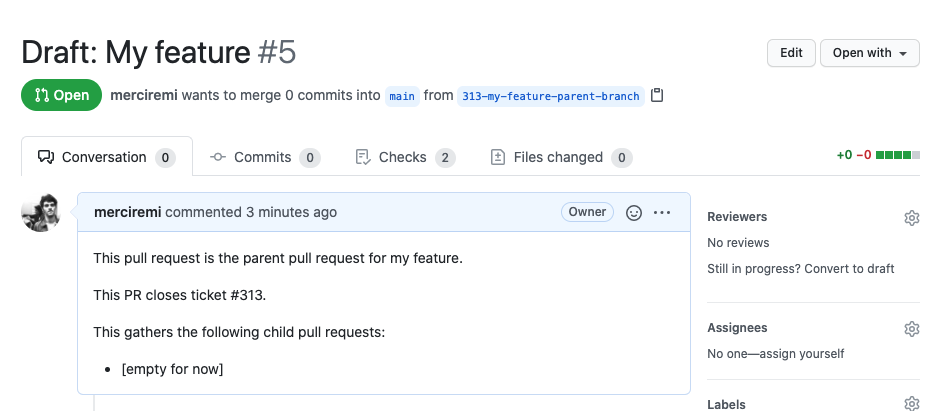
Now that my code is online, I open a pull request for my parent branch.
Here’s my set-up:
- The parent pull request has a descriptive title - usually the name of my parent branch minus the number.
- Prefix the title of the parent pull request with
Draft. It shouldn’t be reviewed or merged. - The parent pull request targets the
mainbranch. - The description of the parent pull request links to the parent card. Also, I usually add a link to each child pull request as I open them.

The parent pull request shows no difference with the main branch. It’s perfectly normal. Right now, my parent pull request is an empty shell until my first child pull request is approved and merged in it. Since my parent branch is blank, I’m not submitting for reviews (yet).
Let’s code our first code chunk!
Step 04: Create the first child branch
Now, I can open my first child branch from my parent branch (313-my-feature-parent-branch).
  ➜  my-project git:(313-my-feature-parent-branch) git checkout -b 314-my-feature-add-models

  Switched to a new branch '314-my-feature-add-models'
This first child branch starts from the parent branch. The parent branch only serves, for now, as a proxy. Time to write some code!
                       A --- B    314-my-feature-add-models
                     /
                 ---              313-my-feature-parent-branch (empty for now)
               /
  X --- Y --- Z                   main branch
Once I’ve coded this part of my feature, I push my first child branch - 314-my-feature-add-models - on my remote repository.
Step 05: Open a pull request for the first child branch
Ok, now the code for my first child pull request is live on my remote repository manager.
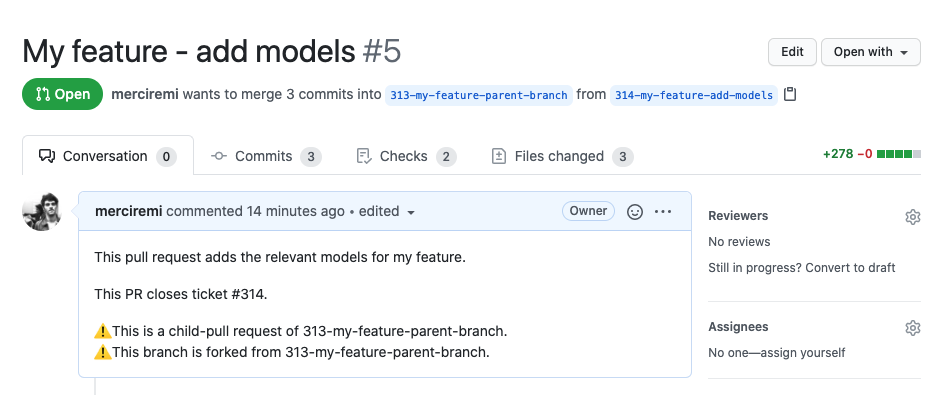
I’ll open a pull request for my first child branch:
- The child pull request has a descriptive title - usually the name of my child branch minus the number.
- The child pull request targets the parent branch.
- The description of the child pull request specifies its status -
⚠️ This is a child-pull request of 313-my-feature-parent-branch- and links to the parent branch. - The description of the child pull request also specifies if the branch is forked from the parent branch or from another branch (we’ll see why later).

Step 06: Handling the following child branches and their respective pull requests
I’ve written my first chunk of code. I’ve opened a pull request for my first child card, and I’m waiting for reviews to pour in. Now what?
I usually need the code in my first child branch in my second child branch. I can spawn a new child branch from a previous child branch.
  ➜  my-project git:(314-my-feature-add-models) git checkout -b 315-my-feature-add-endpoints

  Switched to a new branch '315-my-feature-add-endpoints'
Let me show you the git graph.
                                 D --- E --- F    315-my-feature-add-endpoints
                               /
                       A --- B                    314-my-feature-add-models
                     /
                 ---                              313-my-feature-parent-branch (empty for now)
               /
  X --- Y --- Z                                   main branch
Now, I can lean on the work I’ve done before.
But what happens if my first child branch - 314-my-feature-add-models - is modified during reviews? It’s easy. I can rebase 315-my-feature-add-endpoints onto the latest 314-my-feature-add-models to move the starting point where needed. We’ll see different scenarios later on.
                                       D --- E --- F    315-my-feature-add-endpoints
                                     /
                       A --- B --- C                     314-my-feature-add-models
                     /
                 ---                                     313-my-feature-parent-branch (empty for now)
               /
  X --- Y --- Z                                          main branch
I usually have this cascading type of branch dependencies 3. Each new child branch starts from the previous child. It gives me the code and the context I need to move forward in my feature. Plus, it’s easier for reviewers.
When I finish a child branch, I push it on my remote repository manager.
I’ll open a pull request for each child branch:
- The child pull request has a descriptive title - usually the name of my child branch minus the number.
- The child pull request points to the branch it’s forked from (either the parent branch, or the previous child branch).
- The child pull request’s description specifies its status and links to the parent branch
⚠️ This is a child-pull request of 313-my-feature-parent-branch. - The child pull request’s description specifies if the branch is forked from the parent branch or the previous child branch.
Step 07: Getting things together with merge and rebase
Okay. Now is the time to start merging my branches. In real life, this happens progressively, one branch at a time.
The main take-aways are:
- Child pull requests are created in cascade.
- Each child pull request has to be merged into the parent pull request (not into the child pull request it’s forked from).
My first child pull request targets the parent pull request. Once the first child pull request is finished and approved, I merge it into the parent pull request. My parent branch just got its first commit!
                                     D --- E --- F    315-my-feature-add-endpoints
                                   /
                     A --- B --- C                     314-my-feature-add-models
                   /              \
                 ------------------ A'                 313-my-feature-parent-branch
               /
  X --- Y --- Z                                        main branch
My second child pull request initially targets the first child pull request. Now that the first child pull request is merged into the parent pull request, I need to do two things.
On my machine
I need to rebase my second child branch onto the latest parent branch (which now contains the code from the first child branch). This rebase changes the basis for my second child branch from the first child branch to the parent branch.
  ➜  my-project git:(313-my-feature-parent-branch) git pull origin 313-my-feature-parent-branch
  ➜  my-project git:(313-my-feature-parent-branch) git checkout 315-my-feature-add-endpoints

  Switched to branch '315-my-feature-add-endpoints'

  ➜  my-project git:(315-my-feature-add-endpoints) git rebase --onto 314-my-feature-add-models 313-my-feature-parent-branch

  Successfully rebased and updated refs/heads/315-my-feature-add-endpoints
My git tree would now look like this:
                         D --- E --- F    315-my-feature-add-endpoints
                       /
                 --- A'                   313-my-feature-parent-branch
               /
  X --- Y --- Z                           main branch
Now that my first child branch 314-my-feature-add-models is merged into the parent branch, and 315-my-feature-add-endpoints has been rebased, I can delete 314-my-feature-add-models. The graph above shows just that. My second child branch 315-my-feature-add-enpoints doesn’t lean on 314-my-feature-add-models anymore. It spawns from the latest parent branch.
Since I changed history by rebasing my second child branch onto my parent branch, I need to git push --force-with-lease origin 315-my-feature-add-endpoints onto my remote branch.
On my remote repository manager
First, I go to my second child pull request and change the target branch from the first child pull request to the parent pull request.
Then, I update the parent pull request description with a link to the newly-merged first child pull request. It allows me to keep track of all child pull requests in one place.
All set!
Rinse and repeat
For each child pull request, repeat this step until they are no child branches left.
Step 08: Submit the parent pull request
All child pull requests are merged into the parent pull request. Now is the time to submit the full feature for a final review.
Usually, reviews for the parent pull request are trivial: typos, tiny fixes, etc.
Once the parent pull request is approved, I merge it into main. And I’m done!
Hope you found this interesting! It’s not set in stone obviously. But I’ve found this process to be adequate for me these past few months. Let me know if you have any suggestions to make it better.
Cheers,
Rémi - @remi@ruby.social
ps: Many thanks to Jeremy for helping me make this post clearer (even though I didn’t follow all of his suggestions 😜)
July 9th 2021 update: I’ve been invited to the Rails With Jason podcast to talk about this process and other strategies for releasing features (amongst other things). Listen to it here: Building and Releasing Large Features with Rémi Mercier
-
For clarity’s sake, I’ll use the word
cardto describe an information entity where you write a piece of specification. Think Trello cards, Jira issues, Post-Its, whatever tickles your fancy. ↩ -
GitHub or GitLab for instance. ↩
-
I can picture horrified looks at the words cascading type of branch dependencies, but fear not! The benefits of branch dependency offset its potential problems. ↩