How to write better specifications for your features
For years, I’ve worked without thinking much about feature specifications. I had worked in several teams that were reluctant to embrace opinionated methodologies, because these methodologies were usually tied to specific tools.
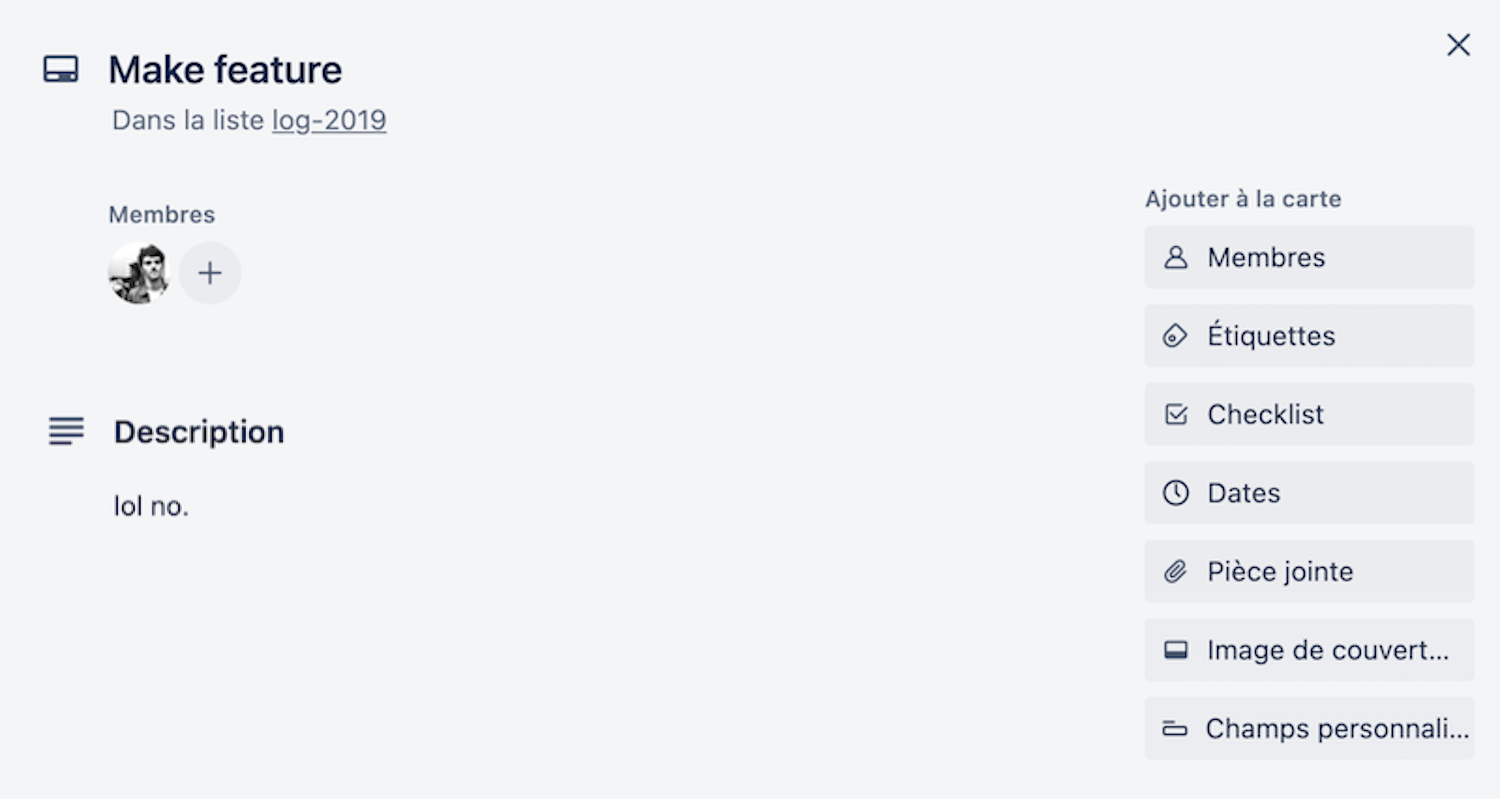
So, these teams (and I) stayed in this limbo of empty Trello cards, neglected Jira tickets, and misaligned communication:

But last year, some coworkers and I started iterating on a feature specifications template. Something that’d help us get the ball rolling much faster.
So today, I want to share my template on how to write better specifications for your features.
This template was born out of several pain points:
- missing context around features,
- poor communication between teams,
- the resulting inertia preventing teams from kick-starting development,
- the need to fight scope creep.
And on a personal level:
- the necessity to channel my workflow,
- to stop delaying coding because of some perceived - often imaginary - technical difficulty.
I won’t discuss the different methodologies (Agile, Shape Up, etc). This post is more granular:
What happens when you - as a programmer - receive a feature assignment?
This template helped me significantly level up with handling more complex tasks. Let’s dive in!
A template for better specification documents
Here’s a breakdown of its different chapters:
- summary
- context
- input
- output and testing scenarios
- possible implementations
- current challenges
Summary
I always start my specifications with a TLDR summary for the feature.
The latest version of our API will handle the synchronization of books’ data between legacy applications and the newest versions.
I like to keep my summary short and to the point. It helps me, when parsing the document, get the context of the feature, the problem I’m trying to solve, and the value I’m creating.
This summary could be a user story too. Whatever works for you, two-sentence style.
Context
Context is where I gather as much information as possible about the problem I need to solve.
It may seem a tad overkill to many people, but I’ve realized - over the years - that I need the whole picture to streamline development. And so do many people.
I like this part to answer the following question:
Which part of my system wants to do what to which other parts of my system?
This bit is generic on purpose - like a user story template. However, the context can get much more complex based on your needs.
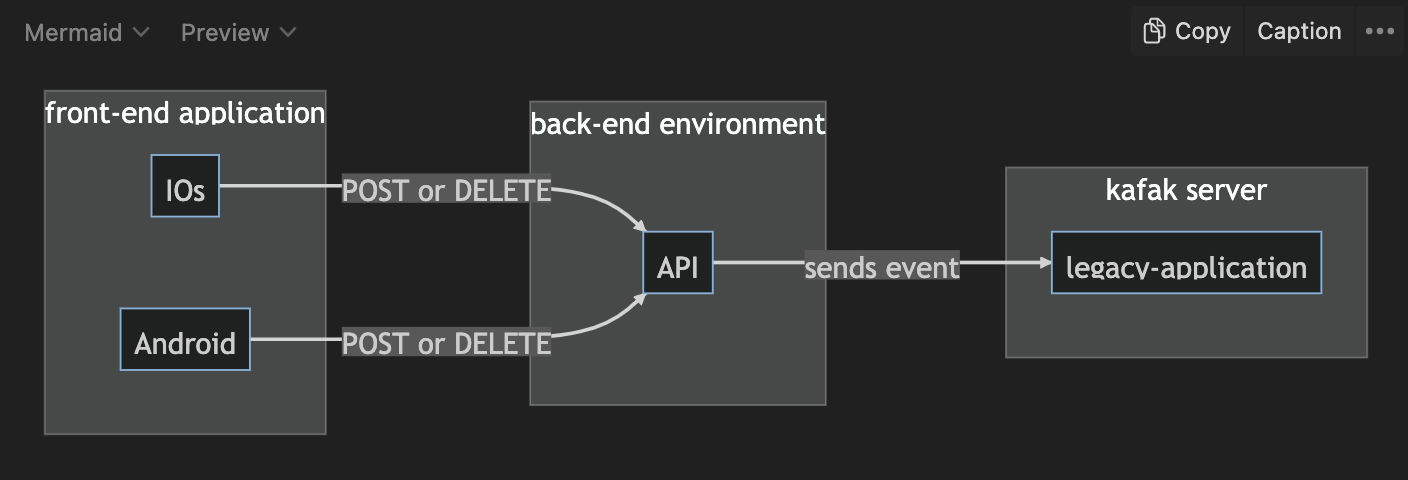
I usually add graphs and charts as well. I map out the different parts and how they relate to each other.
I don’t necessarily follow UML notation and convention. As long as these graphs make sense to me and the team, it’s fine.

Graphs convey the complexity of the whole system. It’s not just an input that’s transformed and then output. Graphs allow people to grasp the successive steps of a feature. How the part fit in the whole.
A side note of flowcharts: I started using Mermaid.js last year. It’s a bit of a learning curve, but I like how many development tools support it (Github, Gitlab, VSCode, etc).
Input
You would not believe how many specification documents lack the most basic information. Input is often assumed and almost always wrong.
In most companies, documentation is either non-existent or not updated. So, there’s a big chance I won’t be able to get accurate information from there. This is where opening lines of communication between teams is crucial.
I know, from my graphs, that front-end applications send me the initial data in a JSON format. In this case, the keys of my JSON don’t match my database attributes. So, I know I need to document the correspondence between names, types, etc.
The main idea is:
Never assume. Always make sure.
Never assume the data you’re receiving is packaged in a nicely formatted JSON.
Never assume that a JSON’s structure is immutable. Once, I had a key that would either be present if the data was present, present with a nil value, or removed if the data was nil but from a different origin. Not cool.
Never assume your database integrity. You might have some surprises hidden in your oldest data. So now is a good time to check your own data, as well.
Output and testing scenarios
I know, from the flowcharts, that I need to output something. Whether it’s a Kafka event or an HTTP response, I have to specify this expected output.
At this step, I usually start drafting my testing scenarios. I like mine in plain English. And I always start my list of scenarios with the happy path (i.e. when everything goes well)1.
A `Kafka event` is sent every time the `User` account has been charged for a new period. The event handler should produce a payload with the renewal information packaged as a JSON.
Then, I like to get the various paths of divergence.
A retry mechanism should be triggerd every time the charging of the `User` account has failed for a new period. The event handler should not produce anything.
With this type of scenario, I can TDD my feature with ease.
I believe that one of the reasons most programmers don’t test is because they lack testing scenarios. When you know how your application should behave, it’s easier to cover your bases with a testing suite.
Possible implementation
I don’t always fill this part of the template. I’ll explore possible implementations if the task is complex or the programmer needs guidance.
Thinking about implementation allows for preliminary conversations with coworkers. It’s an easy way to catch misdirected efforts.
Also, you can move the testing scenarios from the output section to this part.
Current challenges
It’s hard to foresee possible roadblocks. But when our knowledge - or collective knowledge - of the codebase increases, I like to keep a list of potential problems.
Conclusion
To conclude, I’d like to point out what this template is not:
- an over-engineered waterfall-style document planning out all your application’s features until the end of time,
- a procrastination tool,
- a document reserved for junior developers.
But, this document will help you:
- have all the necessary information,
- plan out your app behaviors and your testing scenarios,
- have meaningful conversations with your teammates,
- get documentation that can be linked to pull requests or issues.
Hope this template will be helpful to you as it is to me.
I’ll catch you on the next one.
Rémi - @remi@ruby.social
-
Jeremy Bertrand was the first to intoduce me to these types of scenarios. We were working on a server-to-server mechanism. Jeremy had written a dozen expected behaviors with visual cues for important information. At the time, this list probably cut our development time in half. ↩