Let's talk about tools (Ruby Stained Glass Notes #04)
Hey Ruby friends,
Welcome to the fourth episode of the Ruby Stained Glass Notes. As always, a big thank you to the people who reached out after the last episode. Thanks for your comments and suggestions!
If you’re new here, thank you for signing up to this pop-up newsletter about this crazy project of mine: a limited-edition stained-glass panel celebrating Ruby.
Without further ado, let’s jump in!
Still waiting on one crucial piece of equipment
I wanted to start building the test panels this week, but I realised last Sunday I had forgotten to buy one critical tool: three-bladed scissors.
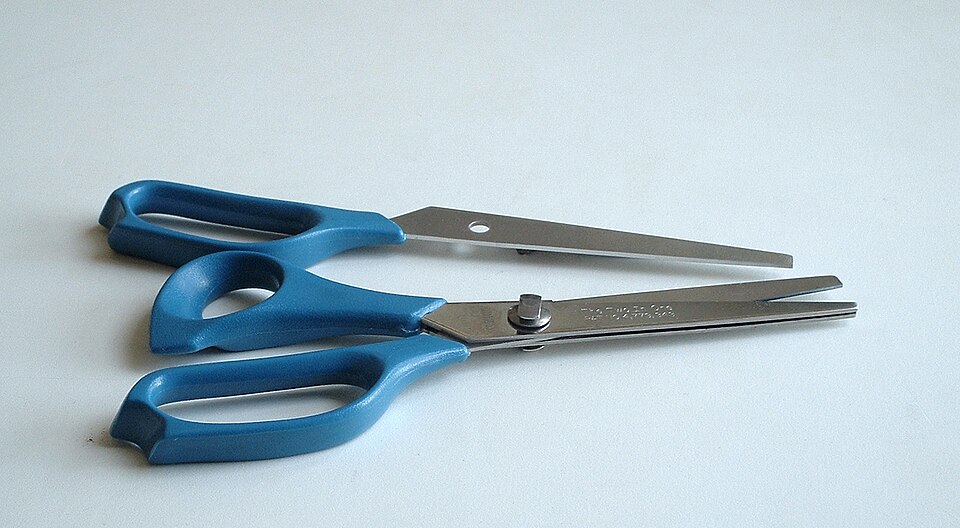
Three-bladed scissors are awesome. You use them to cut your paper patterns – patterns you follow to cut the glass. The middle blade shaves off a thin strip of paper between your patterns. This strip is exactly the width of the lead or foil that’ll go between your glass pieces. This ensures the final panel is exactly the same size as your paper model. Without this relief, your individual pieces would push your panel to overflow the window (and overflow: clip involves more dramatic action in stained glass making than in CSS).
So while I wait for the scissors to be delivered, let’s talk about the other tools.
Some of the tools I’ll use
The real star of the show is the glass cutter, obviously.
The model I have right now has a small wheel made of tungsten carbide (a compound of tungsten and carbon), which makes it almost as hard as diamond.
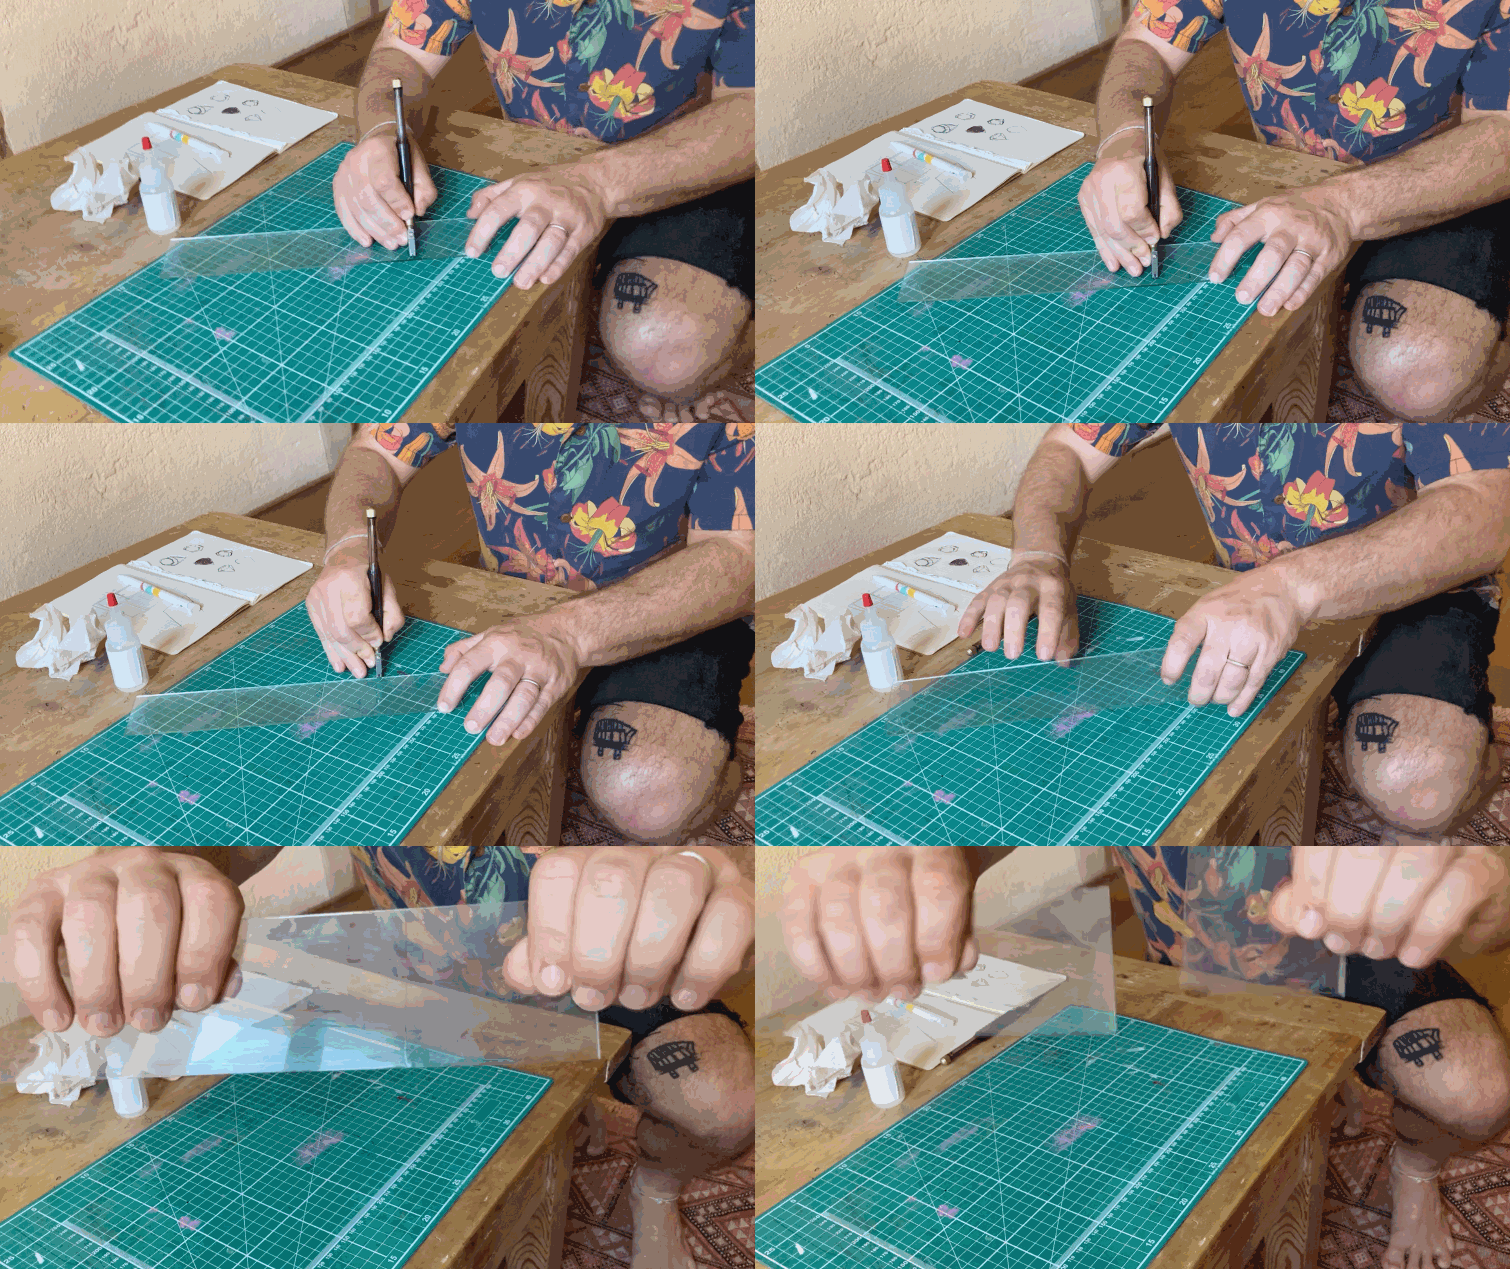
The glass cutter doesn’t saw through the glass. It scores the glass and breaks its surface tension. You then apply pressure from below, and the cut snaps. You can also tap your cut from below to gently open the scoreline. This is pretty useful for complex cuts.
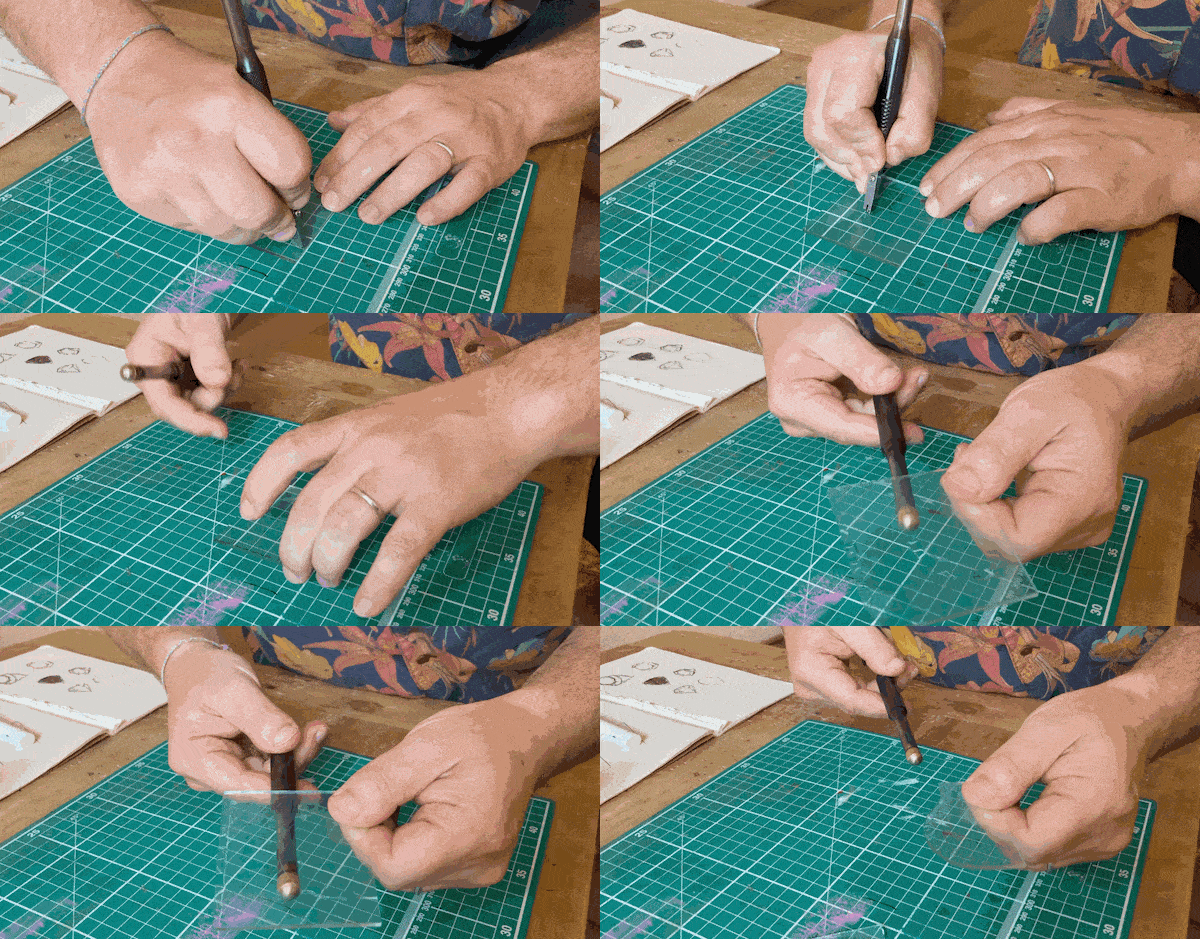
Speaking of complex cuts: did you know that for centuries, becoming a stained-glass master required creating a chef-d’œuvre? The panel had to feature a piece of glass set within another, isolated so that its surrounding lead did not connect to the panel’s main lead network.
The next tool is the grozer (or grozing pliers). Grozers are flat-nosed pliers used to nibble away glass pieces to shape.
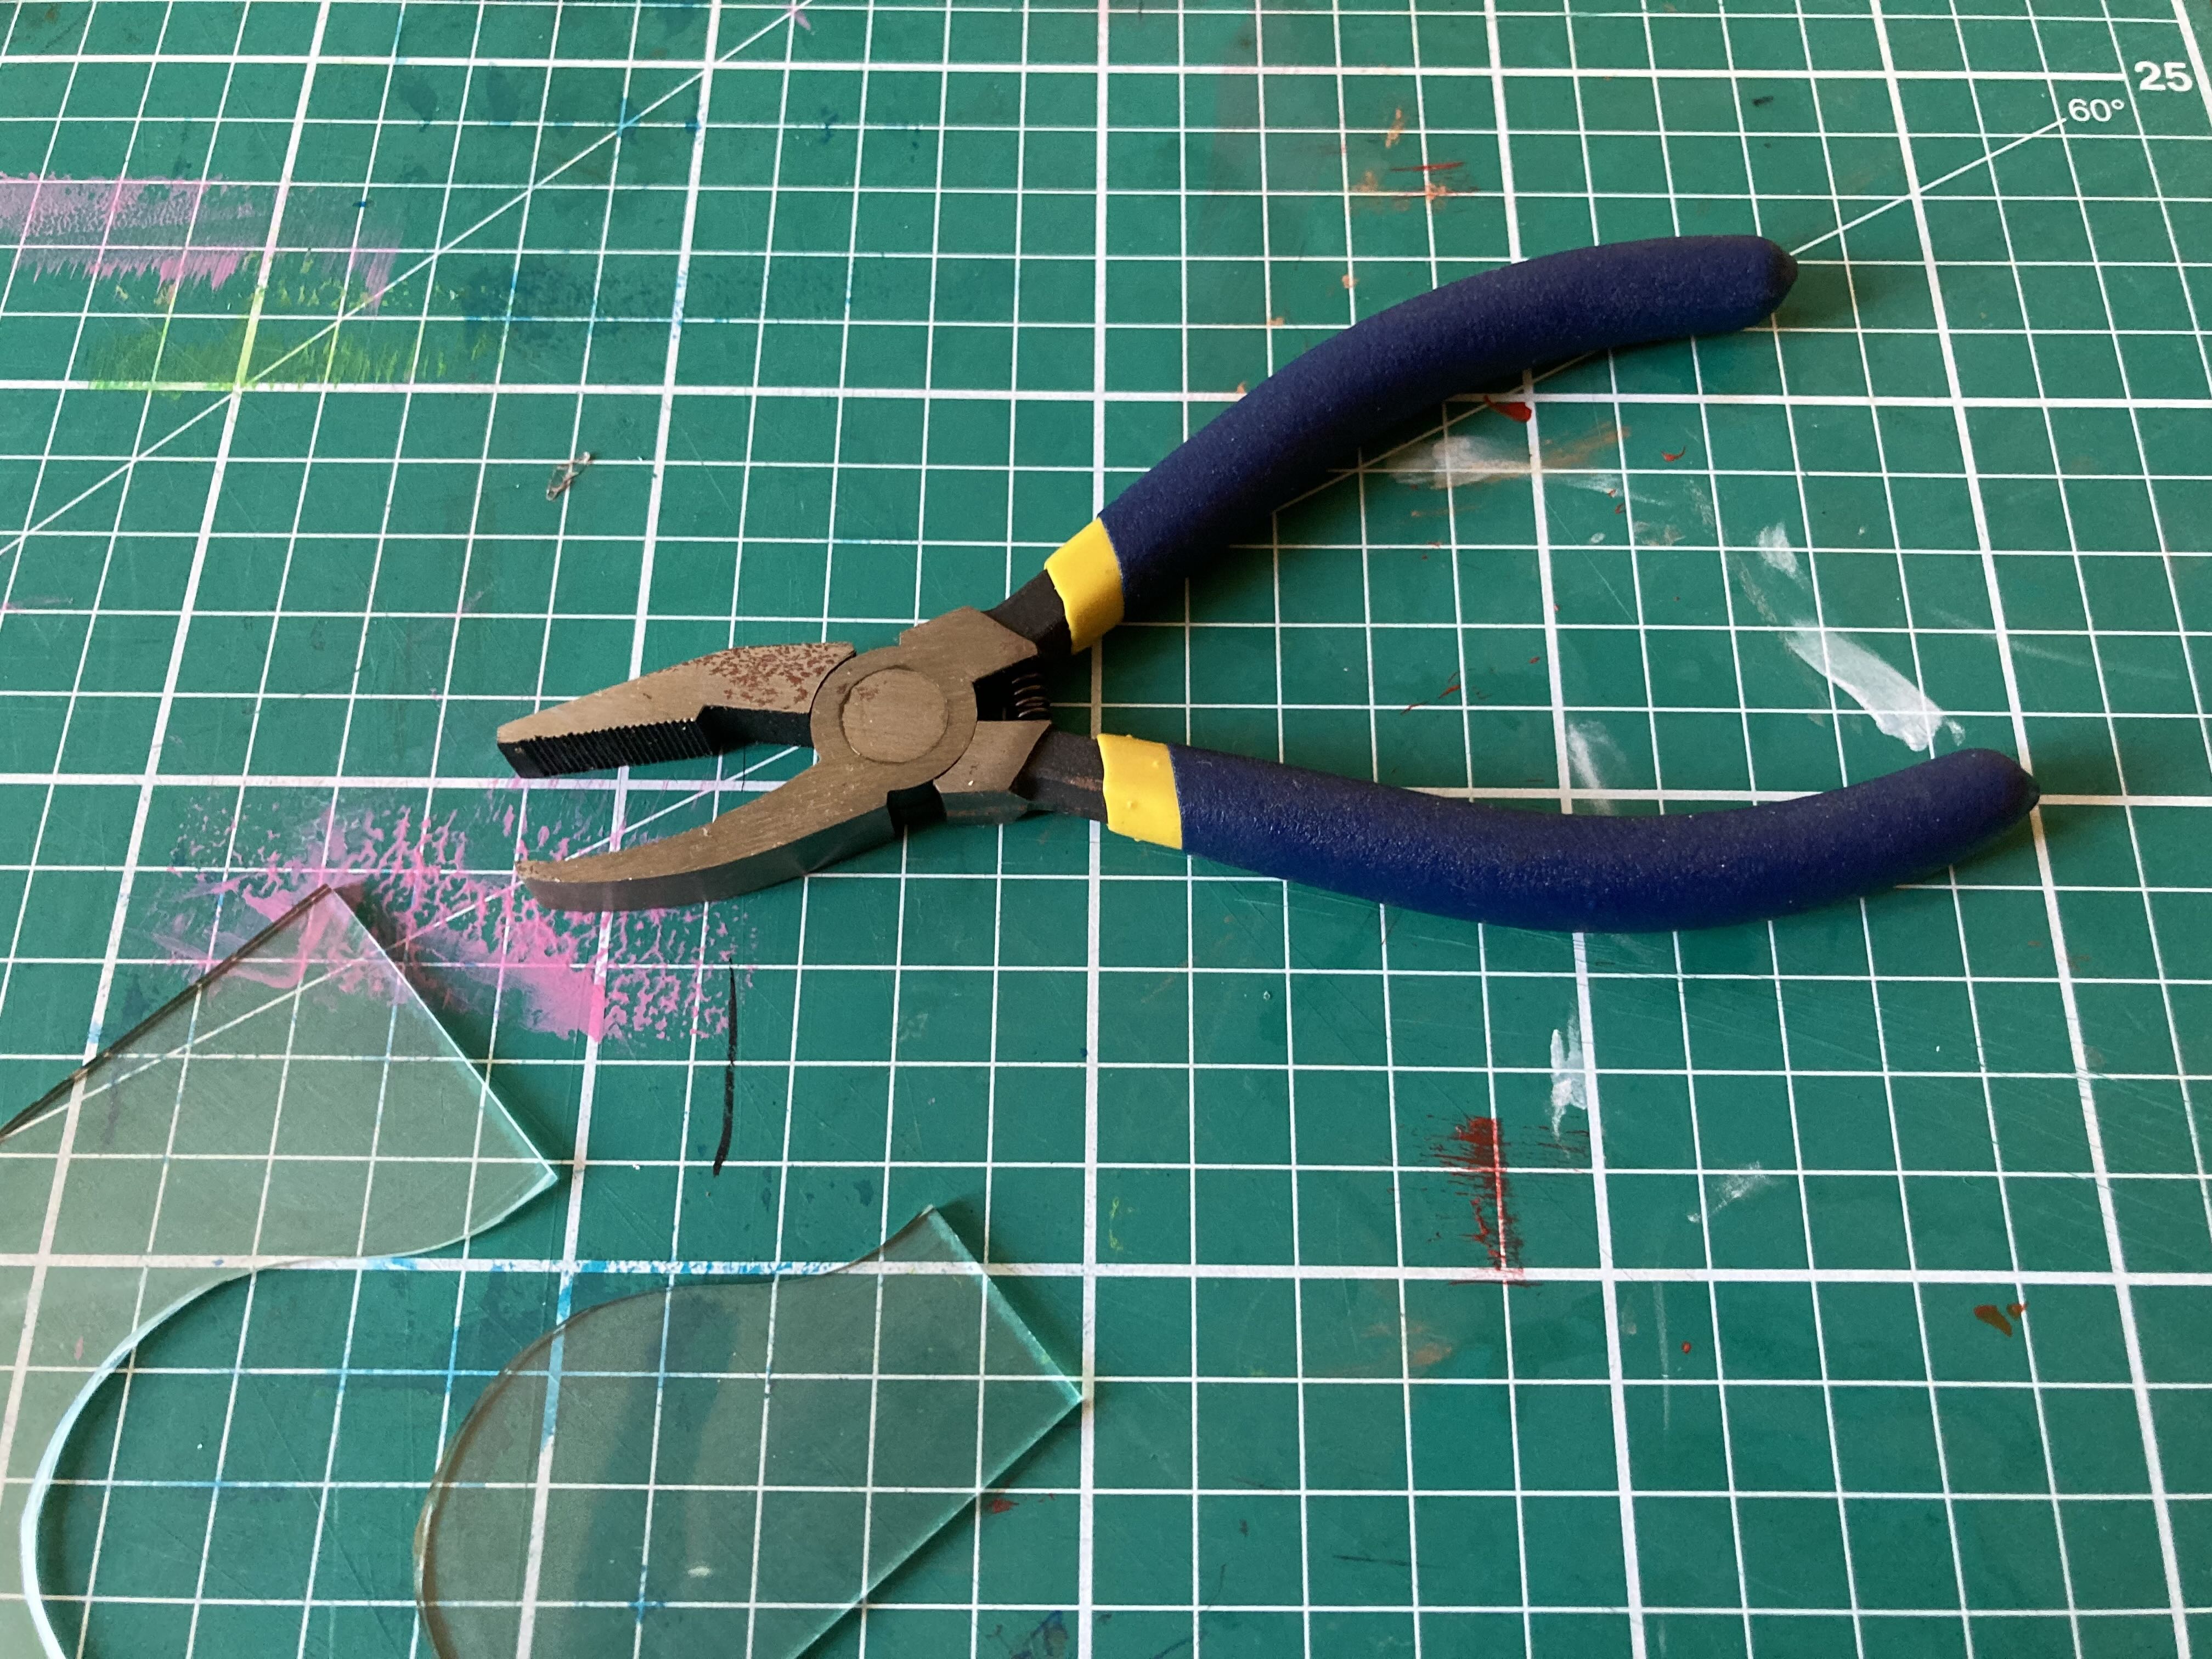
Grozers have been in use for a very long time. Medieval artisans were already using them to slowly shape glass (which is to say something, given how uneven medieval glass was!)
Nowadays, you get glass sheets with little variation in thickness. But in 1250? Boy, you could go from a couple of millimeters to a full centimeter in a single sheet.
While we’re talking about the Middle Ages, do you know how glass was cut back then?
Stained glass makers would pass a hot, flat-headed iron tool on the glass, then pour water on the cut. The thermal shock would break the glass roughly to size. Then, they would nimble the glass using the grozers.
Imagine the patience required to build these:

There are plenty of other tools in the kit, but I’ll save those for when we actually start building.
Picture of my face when 19
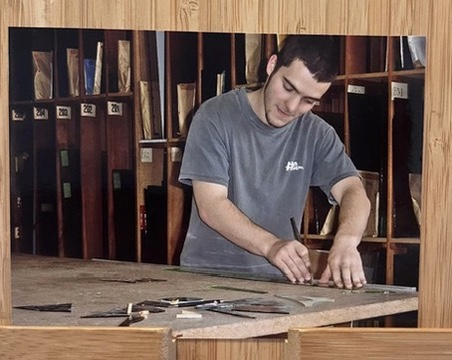
My mom reads this newsletter (hi Mom!), and she kindly sent me one of the few pictures I have of me making stained glass in the workshop (circa 2003).
That’s all I’ve got for this week. Let’s hope I’ll get my scissors soon so I can start cutting some glass!
Until next week,
Cheers,
Rémi - @remi@ruby.social
