The first panel is done (and it looks super cool) (Ruby Stained Glass Notes #06)
Hey Ruby friends,
Welcome to the sixth episode of the Ruby Stained Glass Notes. As always, thanks to everyone who reached out after the last episode. A lot of you shared your own triggers for impostor syndrome. I think I’ll write a blog post about it later.
If you’re new here, thank you for signing up to this pop-up newsletter about this crazy project of mine: a limited-edition stained-glass panel celebrating Ruby.
Let’s go!
Something cool happened this morning
This morning, I started assembling the first test panel in my garage.
The steps were quite straightforward:
- Clean the cutting oil from the glass.
- Stick the copper foil around each piece.
- Nail the pieces together on the workbench.
- Add solder beads between the pieces.
- Smooth the solder along the length of the copper foil.
- Turn the panel around.
- Repeat steps 4 through 6.
- Smooth the solder along the outer edge of the panel.
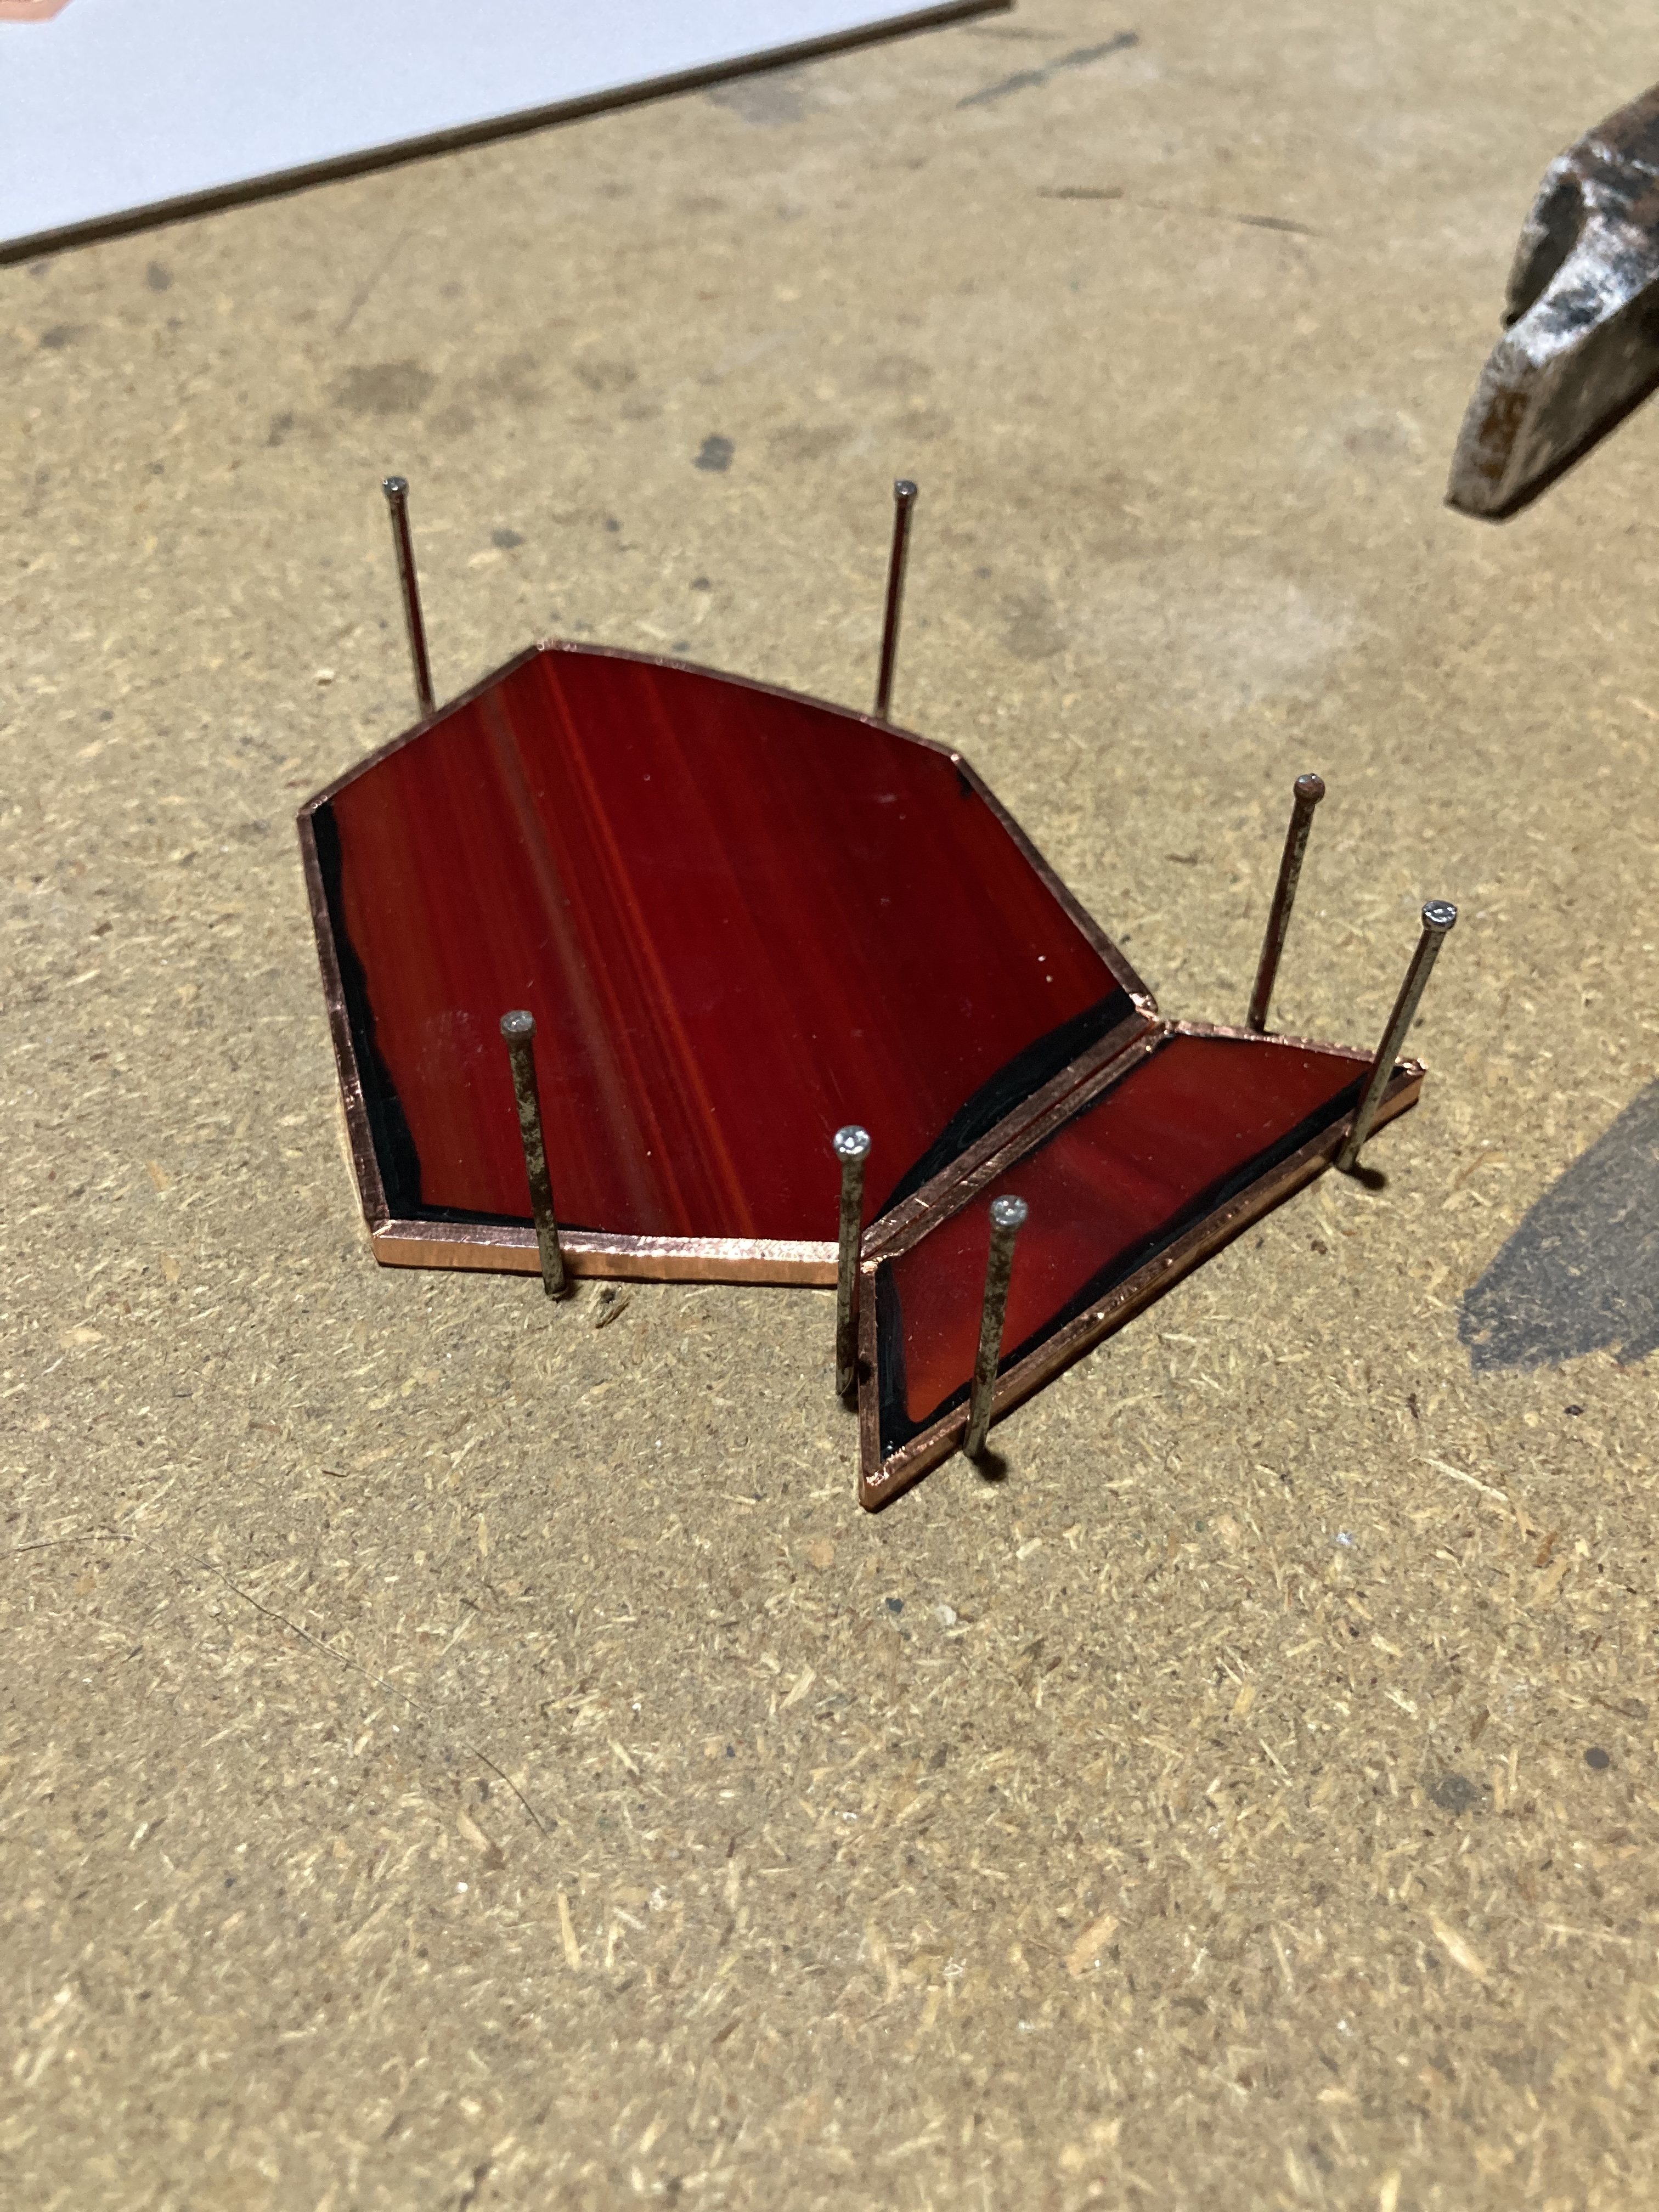
What I learned today
The first thing I realized is that soldering is much harder than I remembered. I’ll have to practice a bit to get the feel of the material again.
Also, copper foil is much narrower than lead came, so I don’t need to apply large beads. I ended up with too much solder, leaving large blobs around the panel.
I’ll also remember to start with the back of the panel rather than the front. It’s a shame to lay nice solder lines on the front only to ruin them with the heat when you solder the other side.
I also think I’ll change two things:
- Use a larger foil or heavier material for the perimeter. Right now, it’s too thin and not very sturdy.
- Find a patina to blacken the solder so it’ll match the painted lines. Right now, the solder is very bright and works against the painted black lines.
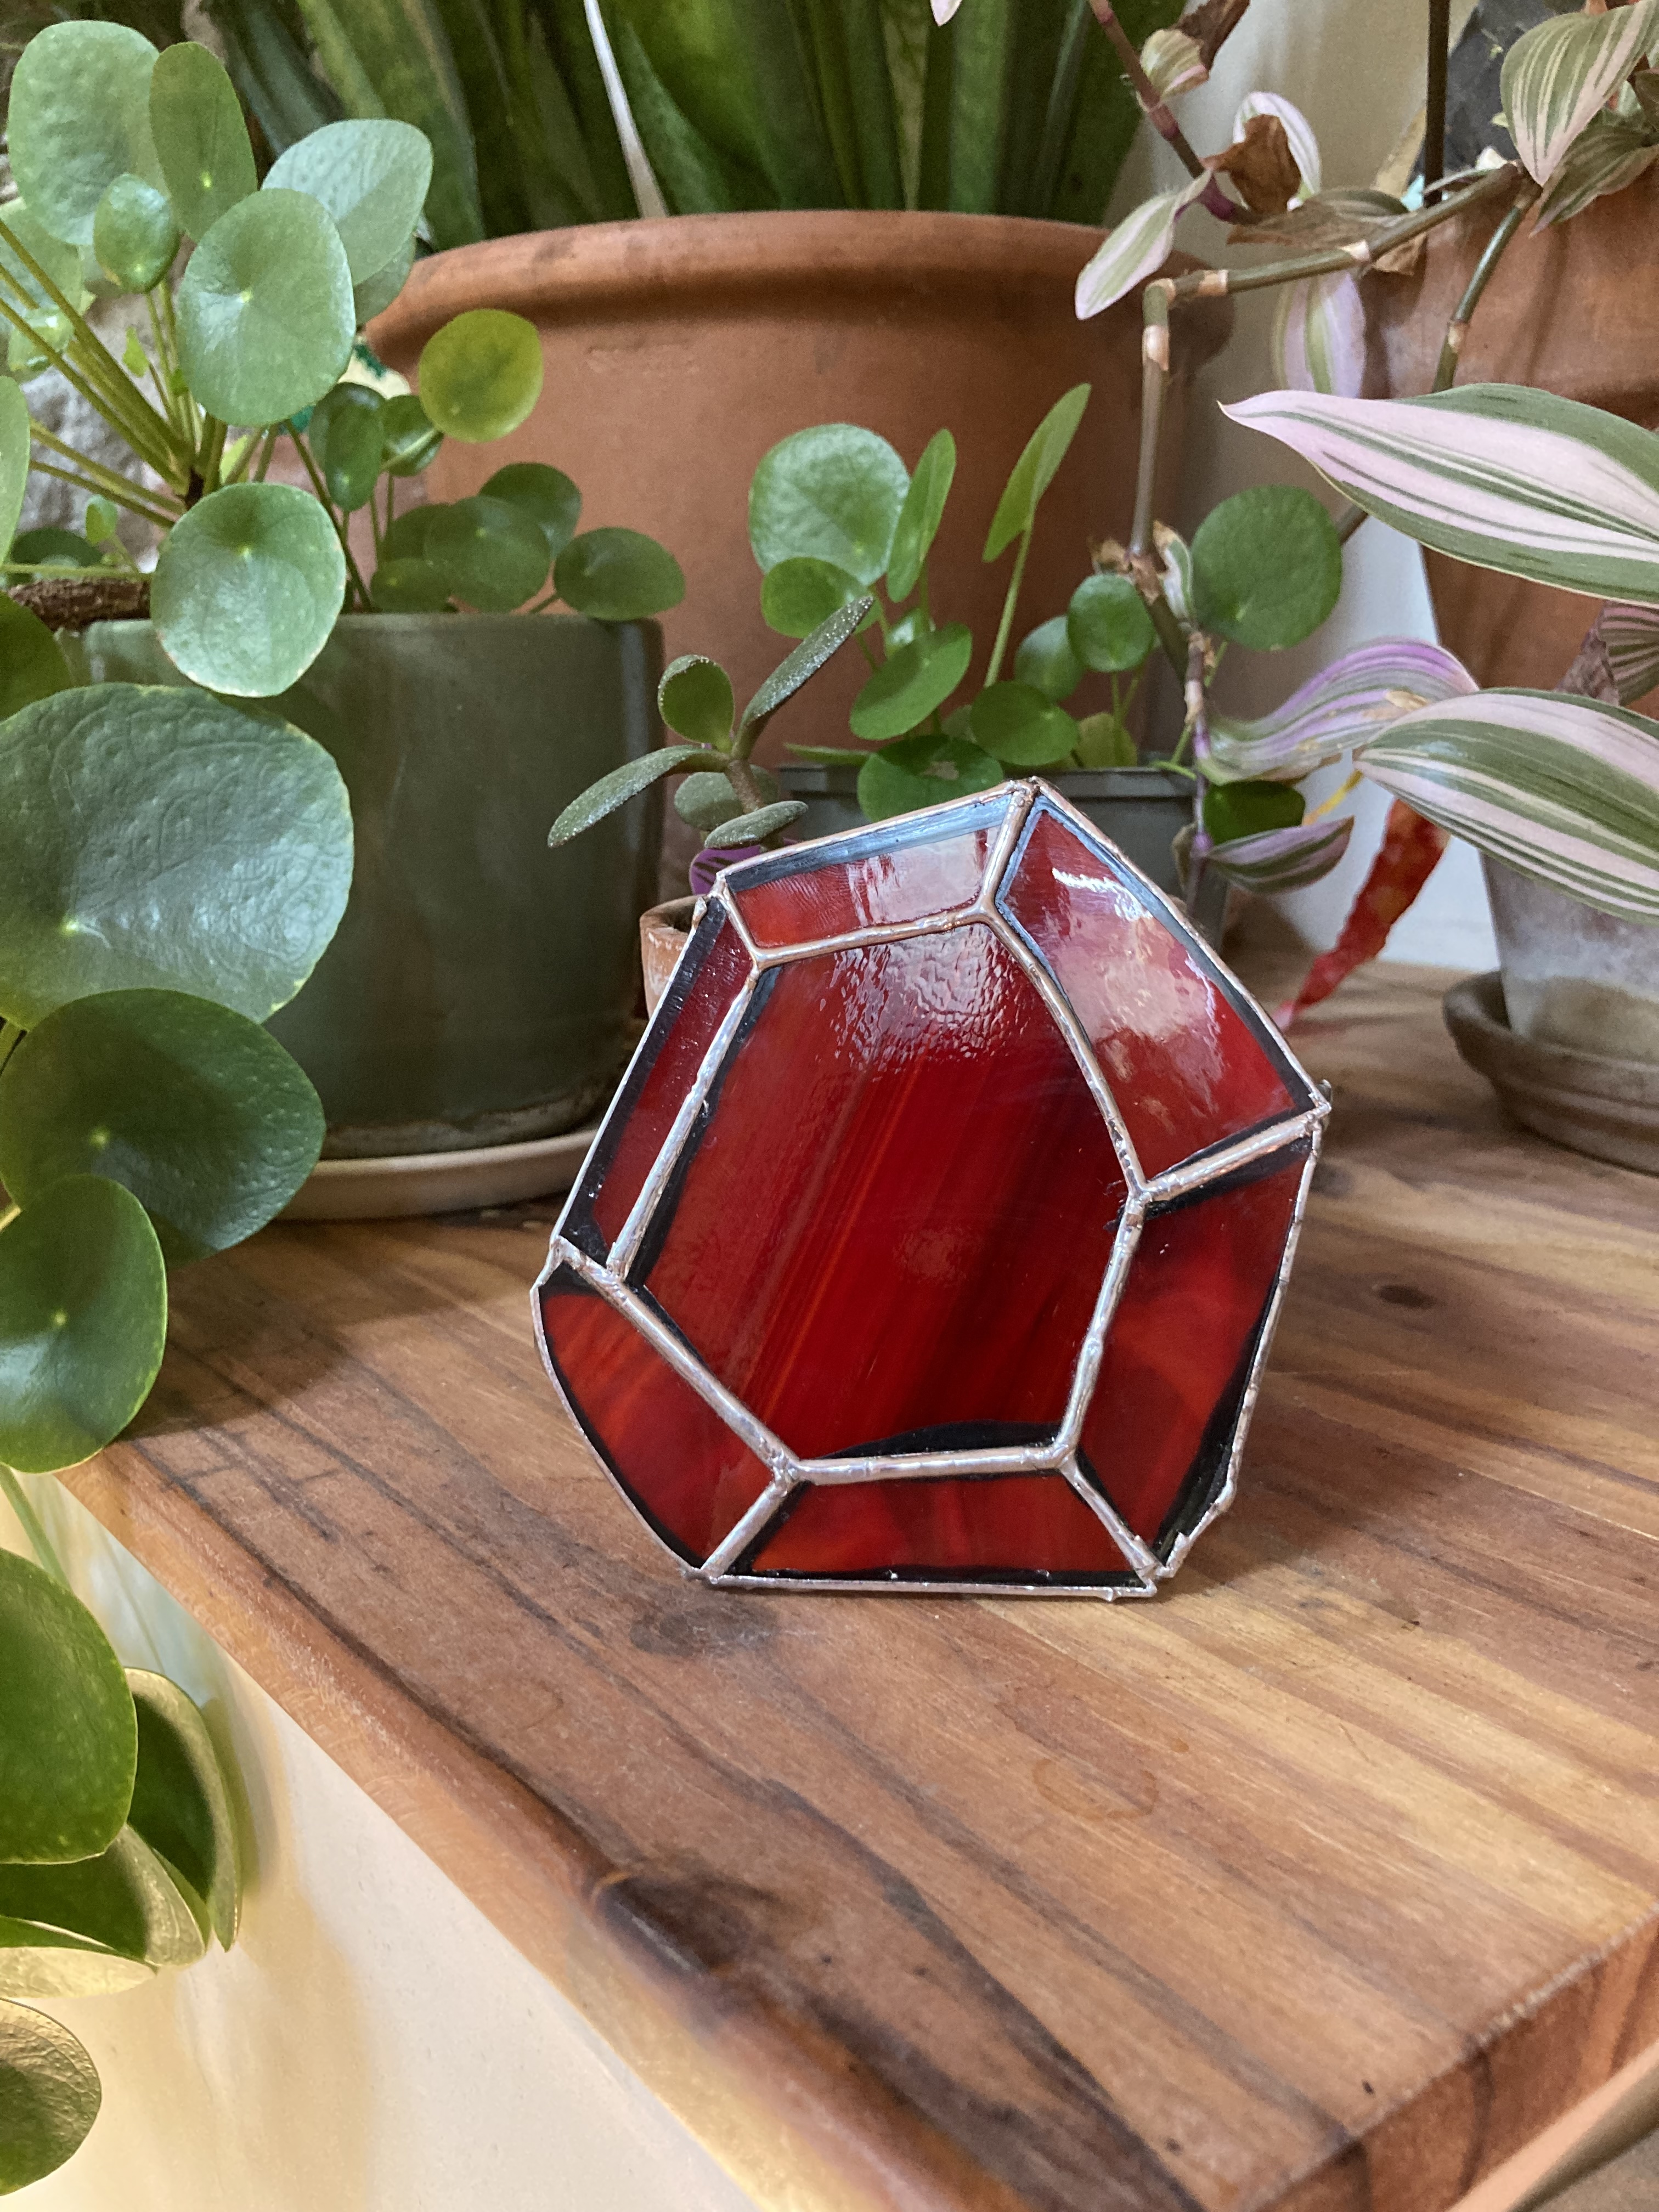
The first test panel
What do you think?
It’s still pretty rough around the (literal) edges, but it already looks super cool.
I love how the patterns in the glass render when front-lit. I think it looks really good as a freeform panel.
The panel is a tad small because I removed the contrasting pieces around the gem. So if you — the readers of this newsletter — pick the freeform panel over the square one when I put it to the vote, I’ll probably bump its size a little bit.
That’s all for this week! I’m taking a long break over the summer, so I’ll come back in early September with updates on the project.
I still have a lot of stuff to do and think through:
- Build the square test panel.
- Figure out the pricing.
- Reach out to a few companies to sponsor the project.
- Figure out how to sell the panel, the shipping costs…
So plenty to talk about!
As always, your ideas and suggestions are most welcome. Hit reply and let me know:
- What do you think of the panel so far?
- Do you enjoy the newsletter? Is there something you’d like me to cover?
- Do you agree with me on blackening the solder?
See you all in September,
Cheers,
Rémi - @remi@ruby.social
